
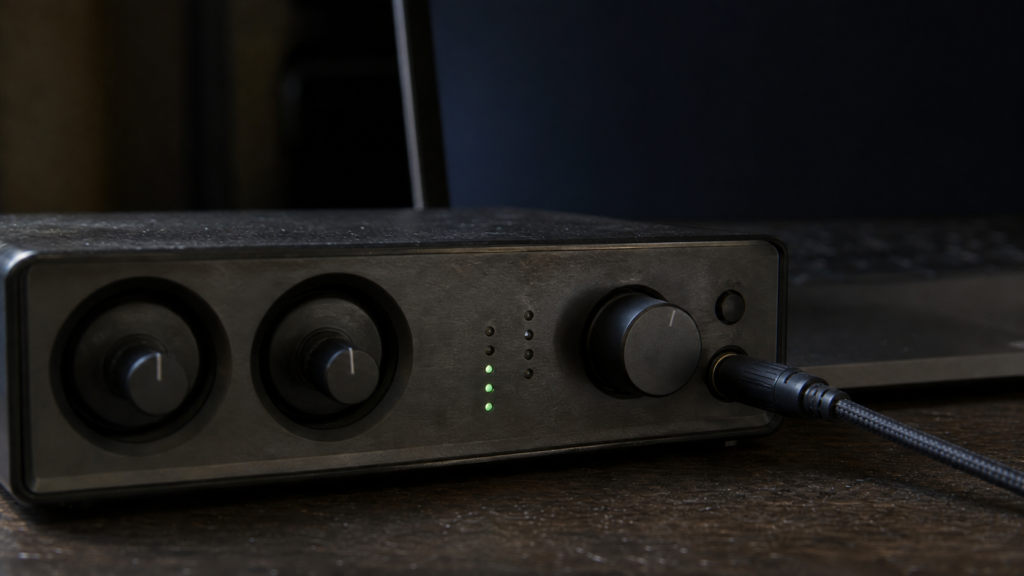
A USB audio interface is useful on Linux when the recording and control functions you need actually work. Start with the exact model and generation, then list the inputs, outputs and monitoring controls your session requires. Basic audio transfer and access to a device’s internal mixer are separate questions.
This guide uses Ubuntu 24.04 for its observation commands. It offers an acceptance procedure for an interface you own or can test, rather than a ranked shopping list. If you are establishing your first session, the Linux audio setup guide provides the surrounding recording workflow.
Check the exact model and its support statement
Record the full product name and generation from the device or its documentation. Look for the manufacturer’s Linux statement and the requirements for its control application. A report about a similarly named interface can refer to different hardware or a different control protocol.
Focusrite’s Linux support statement illustrates why the wording matters. It describes its USB products as class compliant and says they can work in a suitable Linux setup, while explicitly withholding official Linux support and a performance guarantee. It also says its official control software needs Windows or macOS.
That statement is useful evidence about the vendor’s support position. It does not prove that a particular input, mixer feature or monitoring route works on your machine. Keep those questions in the acceptance checklist instead of replacing them with a broad claim that the brand either works or fails on Linux.
Separate community controls from basic audio
The manufacturer links Geoffrey Bennett’s independent control project. The ALSA Scarlett Control Panel repository lists supported interfaces and describes routing, mixing and other controls. Its current documentation identifies a beta release and notes that some documentation still needs updating.
Use the project’s exact model list and installation prerequisites when evaluating it. Do not assume that every member of a product family exposes the same controls. The existence of a community application also does not change the manufacturer’s support terms.
Make a short feature checklist before adding software. For example, identify whether your session needs an internal headphone mix or a particular output assignment. If those controls are essential, prove that you can configure and restore them. Firmware work is a separate device-specific procedure and is outside this introductory test.
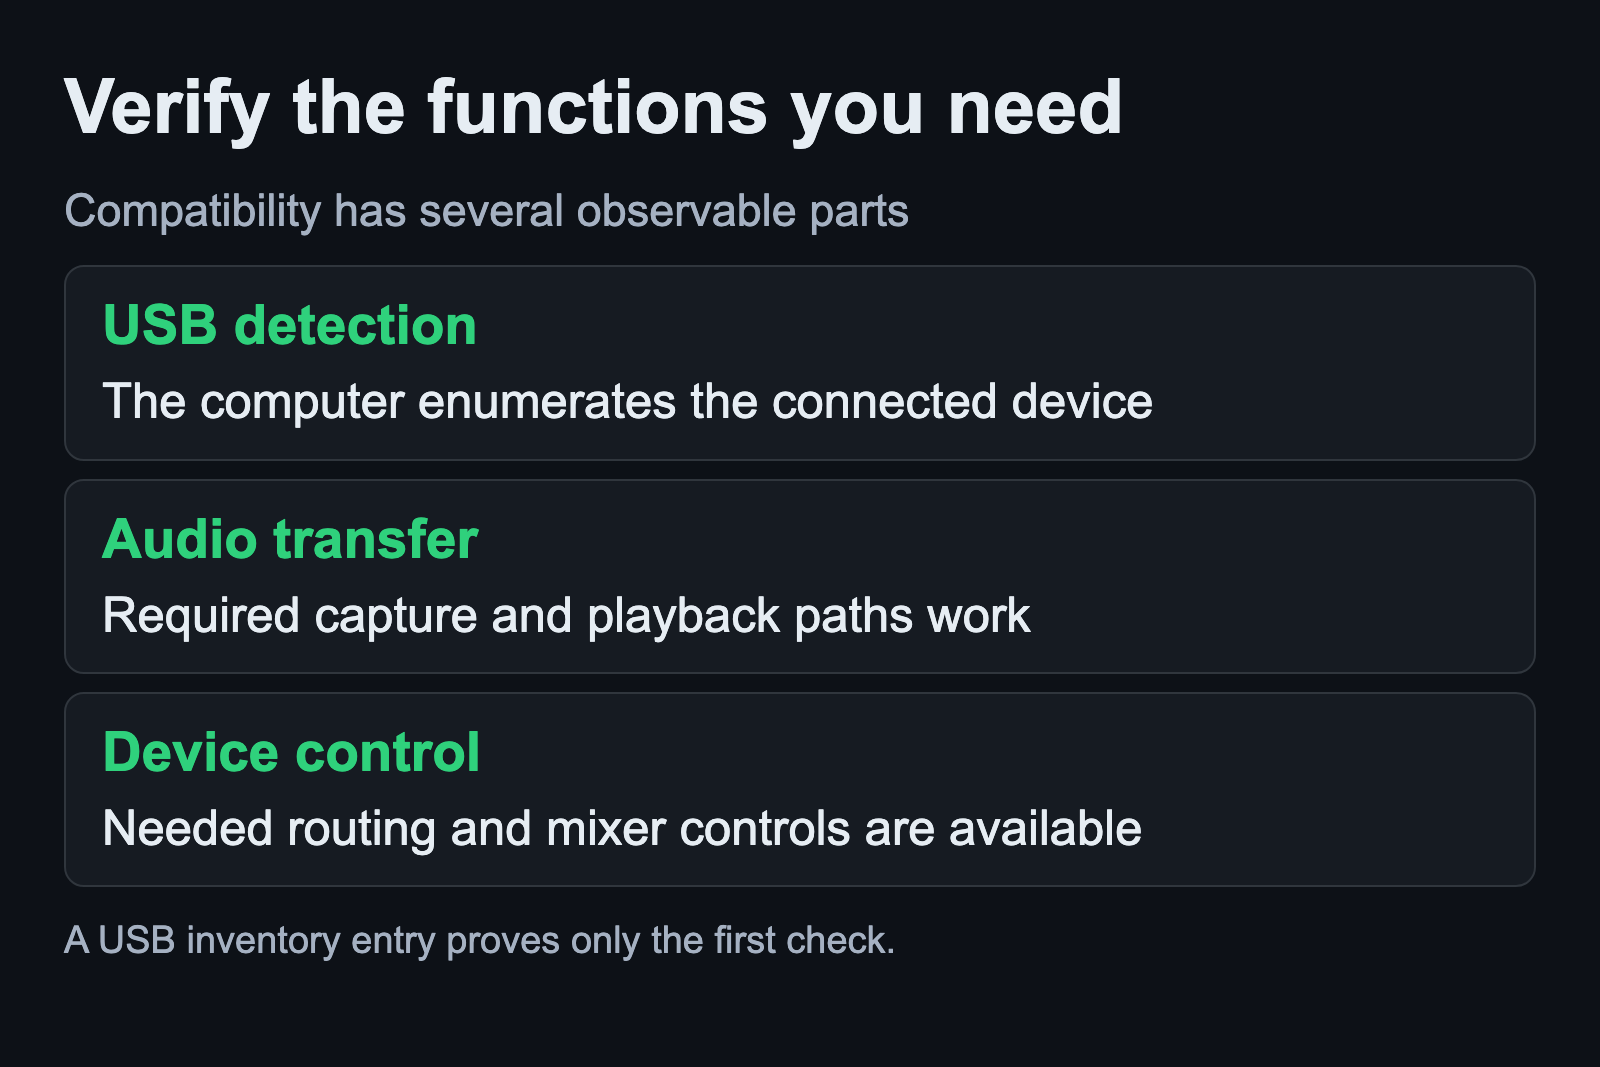
Confirm USB detection first
Connect the interface according to its hardware instructions, including any required power supply. Use a known appropriate data cable and keep the physical connection consistent while comparing software settings. Record the connection arrangement so a later test does not silently introduce another variable.
The Ubuntu lsusb manual documents this inventory command:
lsusbLook for the connected device in the USB inventory. This establishes enumeration at the USB layer. It does not establish an ALSA capture device, a selected PipeWire profile or a working DAW route. If the device is absent, focus on the physical connection and the device’s own setup instructions before changing DAW buffers.
Check capture and playback as separate directions
Next use the listing option in the Ubuntu ALSA utility manual:
arecord -l
aplay -l
The capture inventory and playback inventory answer different questions. Compare both with the intended interface. Keep their complete labels in your notes so you can recognize the same device when selecting an application input or output.
If USB enumeration succeeds but the expected audio endpoint is absent, save that distinction. A support request that names the exact model and shows which inventory contains it is more useful than saying the interface is invisible. This article does not infer a driver fix from enumeration alone.
Select the usable channels in the audio service
On a PipeWire desktop, inspect the selected device profile and the channels it exposes. The WirePlumber ALSA documentation explains how ALSA cards become PipeWire devices and nodes. Device detection and the resulting application endpoints are connected stages, rather than identical lists.
Choose the intended recording input and listening output in your DAW. Then follow the route described in the signal-flow guide. Verify the physical connector at the end of that route, especially when the interface has several output pairs.
Test with a brief recording whose source you can identify. Stop and listen to the saved track. Sound heard directly from a hardware-monitoring route while playing does not establish that the DAW captured the input. Repeat the check for every connection your actual session depends on.
Keep the working identity and settings
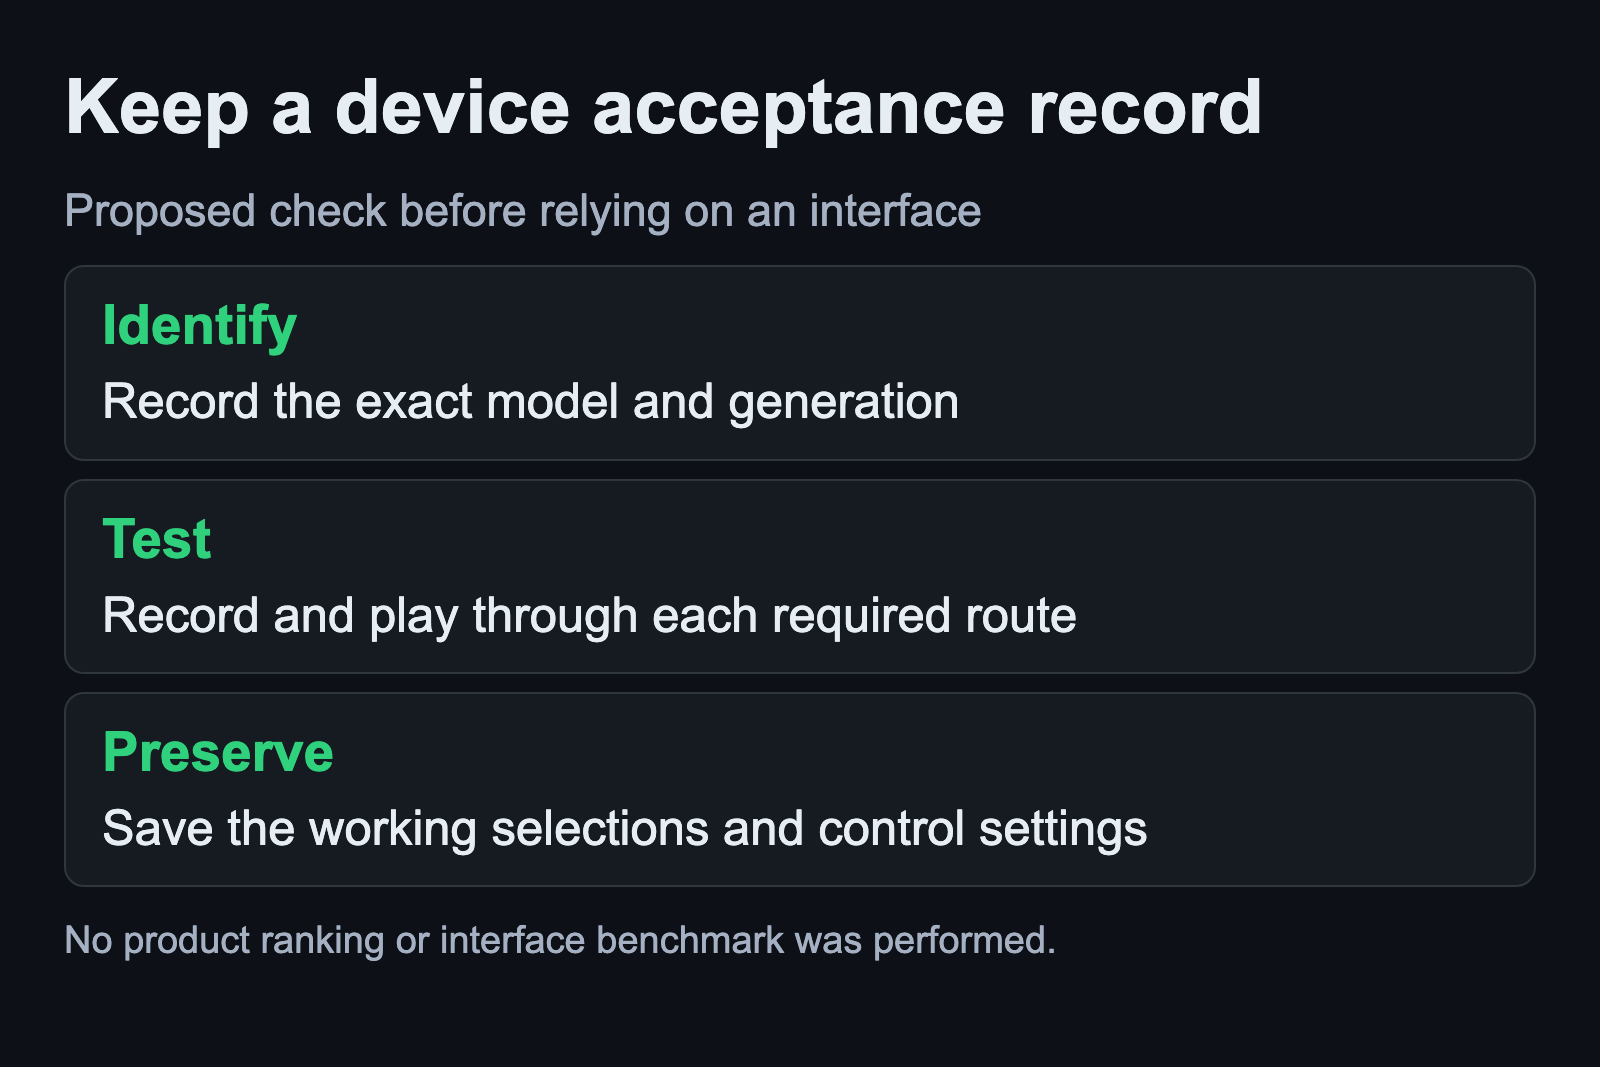
The JACK device-naming FAQ explains that numeric soundcard order can change after a restart. Keep recognizable device names in your notes and recheck application selections after reconnecting equipment. Multiple identical units need more care than matching a shared model label.
Save the successful project alongside the relevant device-control settings. Reopen it and repeat playback before depending on the setup for an important session. If an essential function remains unavailable, name that function precisely in your compatibility notes. Basic playback success should not erase a failed requirement for recording or headphone routing.
Sources and scope
The vendor statement and independent control-panel documentation establish separate support claims. Ubuntu manuals establish the observation commands. No interface was purchased, tested or benchmarked for this article, and no price comparison was made. Documentation checked September 6, 2026.