
A useful Linux audio setup starts with one short recording you can play back. Get that working before changing kernels, replacing audio servers, or adding plugins. This beginner guide follows that order on Ubuntu Studio 24.04 LTS with its PipeWire audio configuration and Ardour installed.
The instructions are checked against project documentation. We have not measured this setup on your computer or tested your interface. Other distributions and later releases can use different controls. Our editorial standards explain that distinction.
Start with Ubuntu Studio’s audio configuration
Ubuntu Studio includes an audio configuration utility for its supported releases. For this guide, keep the installed PipeWire configuration and its JACK compatibility enabled. That gives you a specific starting point for the recording steps below.
Open Ubuntu Studio Audio Configuration if you need to inspect the setup. Avoid switching the machine to its older PulseAudio/JACK arrangement during this first test. Ubuntu Studio documents that older workflow as deprecated and unsupported. The switch also changes installed packages and requires a restart, which makes it a poor first response to a missing input.
Write down the current settings before changing anything. Leave the quantum at its existing value for the first take. The goal at this stage is to find the interface and record from the intended input. There is time to adjust responsiveness after playback works.
For a closer look at the active graph and supported timing controls, follow the PipeWire setup guide after confirming the distribution version.
Check playback and capture devices separately
Connect your interface as its manufacturer instructs, then inspect the audio devices Linux reports. In a terminal, run these commands separately:
aplay -l
arecord -l
The lowercase -l requests the device list. aplay covers playback; arecord covers capture. Look for the interface in the appropriate list rather than copying a card number from another person’s example. A playback entry alone does not establish that you selected the recording input.
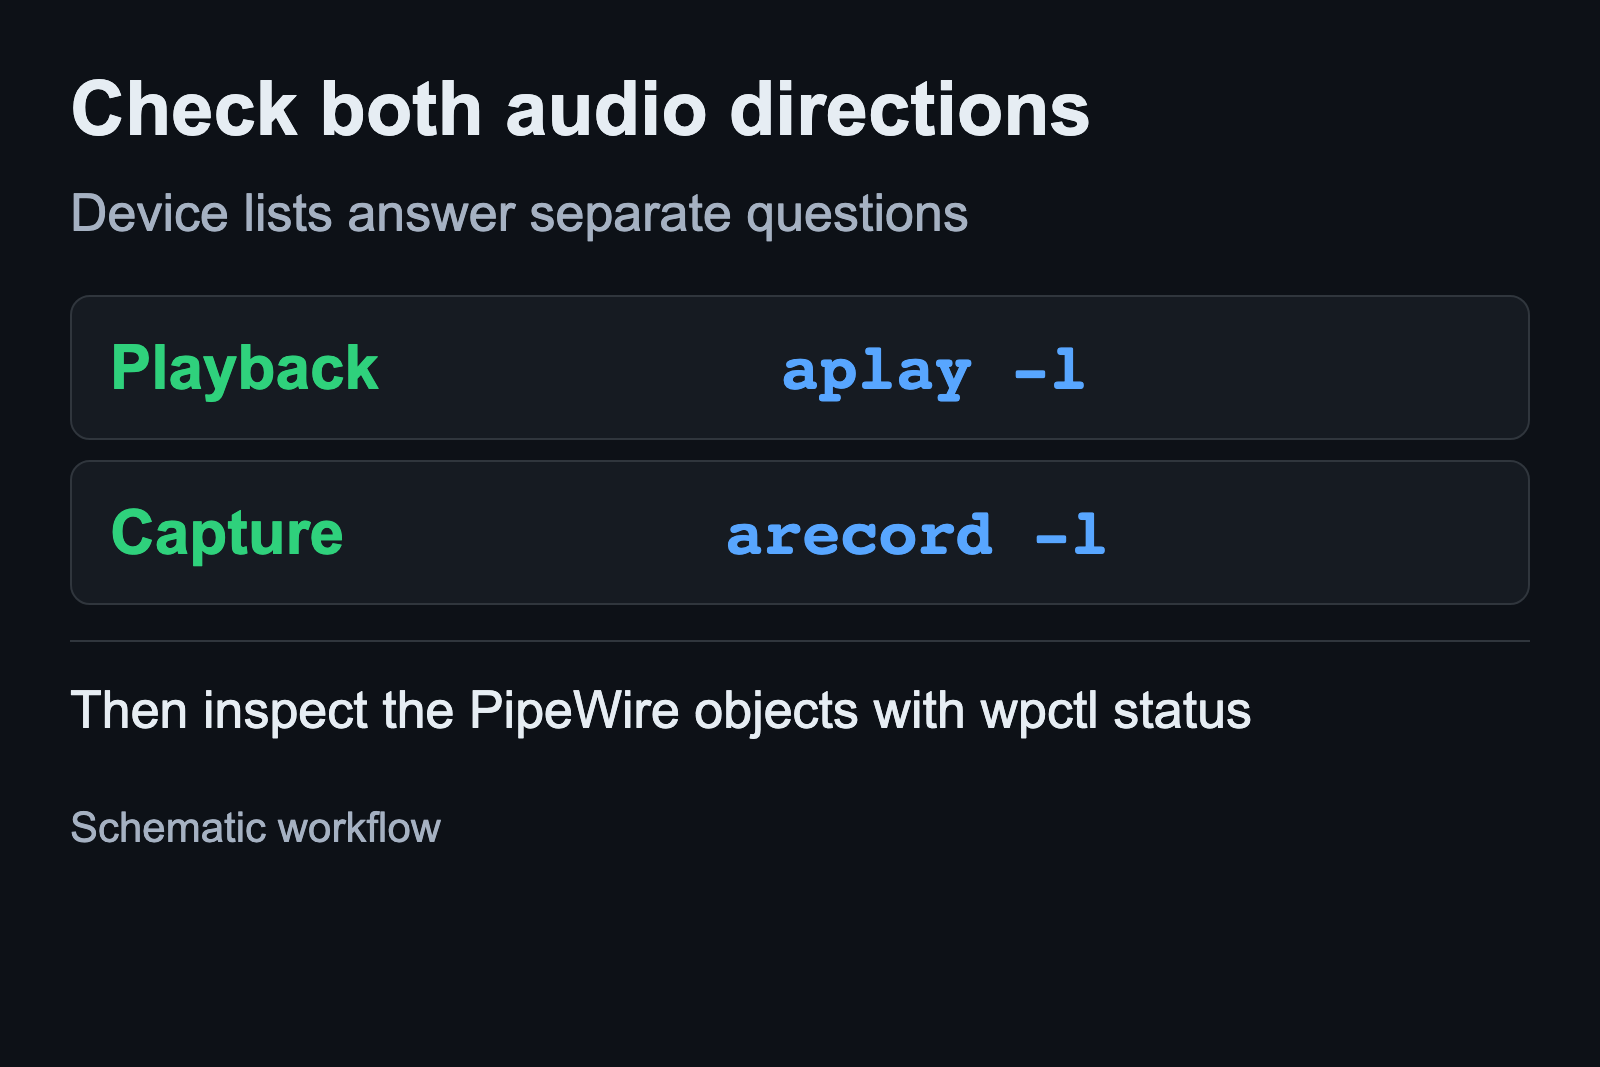
Next, inspect the objects visible to PipeWire through WirePlumber:
wpctl statusThis lists devices and audio objects, including playback sinks and capture sources. Compare the names with your interface. These commands inspect state; they do not install an audio driver or change the default output.
If a command is unavailable, stop at that check and consult the documentation for your installed distribution. If the interface appears in the ALSA lists but the expected PipeWire object is missing, record both observations. They are more useful for troubleshooting than the broad description “Linux has no sound.”
If the device list is unclear, the ALSA guide explains hardware and PCM names. For a particular external device, use the USB interface checks to separate USB detection from usable capture and playback.
Create one Ardour audio track
Open Ardour and create a new session for the test. In its Audio/MIDI Setup, use the JACK audio system with the Ubuntu Studio PipeWire-JACK configuration described above. Do not start a separate native JACK server as an extra step in this workflow.
The controls shown by Ardour depend on the audio backend. Where device selectors are available, choose the intended input and output interface. When the backend handles device routing, check the track connections instead. Ardour’s Audio/MIDI Setup documentation describes those selectors and the buffer control.
- Open the Track menu and choose the command to add a track, bus, or VCA.
- Choose an audio track and a mono configuration for a single input.
- Give the track a descriptive name, such as “Interface input test,” and add it.
- Open the track’s input selector. Select the interface input your source is connected to.
A mono track takes one input. If your source is connected to the interface’s second input, selecting its first input will not capture that source. Check the connection by name or port, then look for activity on the track’s meter while the source produces sound. Follow the interface manual for its physical input and gain controls.
Record a take and check playback
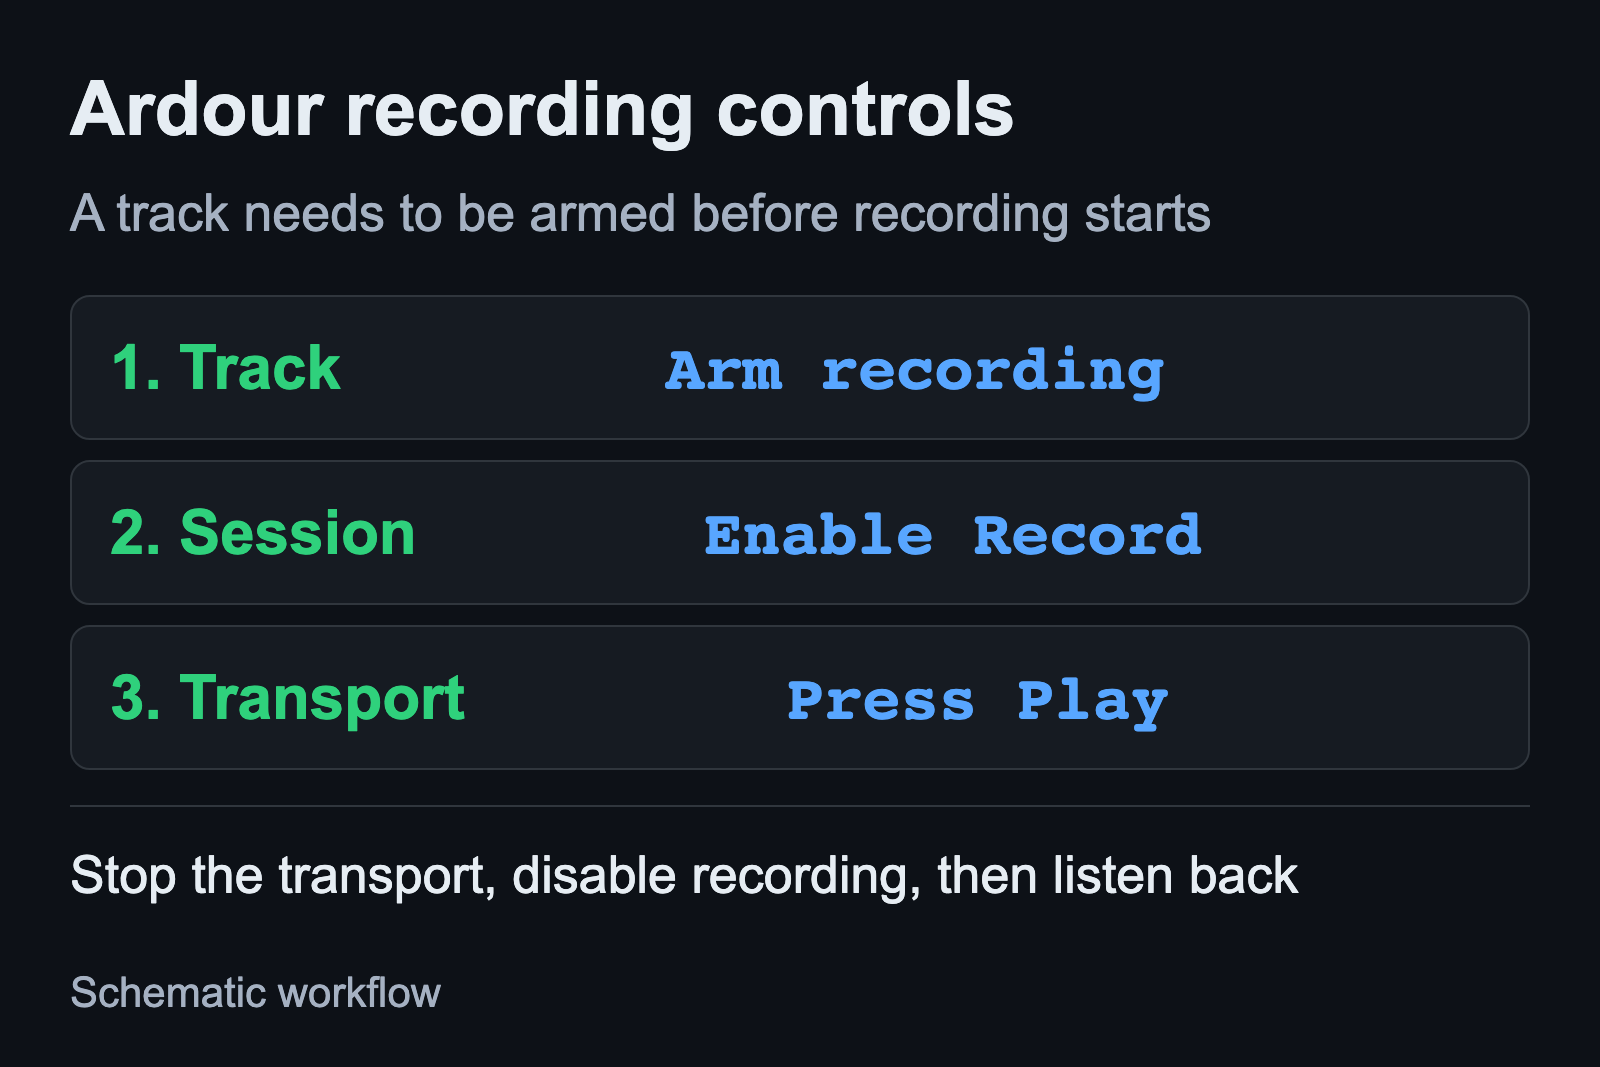
Ardour separates track arming from the global recording control. The track button chooses which track can record; the global control prepares the session to record. Playback must then start for the take to begin.
- Enable recording on the test track.
- Enable the global Record control in the transport bar.
- Start playback and record a short sound.
- Stop the transport, return to the start of the take, and disable recording before listening back.
Look for recorded audio on the timeline and listen to the take. Ardour normally connects track outputs to the master bus. The master then reaches the hardware outputs, with a monitor section in between if your session uses one. If the recording exists but is silent on playback, inspect that output path before recording another take.
Hearing yourself while recording is a separate monitoring choice. Ardour can handle monitoring, or the hardware can do it when supported. Check Edit > Preferences > Monitoring and its record-monitoring setting. If Ardour is set to external monitoring, it does not provide the input monitoring itself.
Keep the test small until both capture and playback make sense. A working saved take gives you a reference when a later routing or plugin change causes trouble.
Adjust latency after recording works
Once you can record and listen back, decide whether monitoring feels too delayed for your performance. Smaller buffers trade processing time for responsiveness. A setting that works in an empty session can be unsuitable once more processing is involved.
For PipeWire, open its process viewer:
pw-topWatch the relevant running device while the audio application is active. The QUANT and RATE columns describe the graph’s processing period. Divide quantum by rate to get seconds per period. For example, 256 frames divided by 48,000 frames per second is about 5.33 milliseconds.
That is a calculated graph period, not measured round-trip latency. It does not establish the total delay through your interface and recording path. The ERR column counts xruns and errors. If it increases during the test, investigate the errors before treating the setup as ready for a session. Press q to quit the viewer.
Keep a record of the working setup
Save the session with the test take. Record your distribution release, interface model, selected input and output, and audio configuration. If you change a setting, note the old value so you can compare the result and return to it.
For the next task, browse the Linux audio guides. Start with the problem you can now describe: a missing capture device, the wrong playback output, or errors during recording. That description keeps the next change tied to something you observed.