
To reduce audio latency on Linux, first identify the route you are hearing. A voice monitored through the recording program follows a different path from a hardware direct-monitor mix. Reducing the audio buffer can help a software monitoring path, but it also gives the computer less time to finish each processing cycle.
This guide assumes Ubuntu Studio 24.04 LTS, its installed PipeWire configuration, and Ardour. Start after you can record and play back a clean take. If that is still unresolved, use the first recording setup guide before tuning responsiveness. The steps here are documentation-led; we have no latency measurement for your computer or interface.
Identify the monitoring path
Ask what produces the sound in your headphones while you perform. With software monitoring, Ardour receives the input and sends it through its routing to an output. With external monitoring, a mixer or supported interface provides that listening path outside Ardour.
Ardour’s monitoring preference is under Edit > Preferences > Monitoring > Record monitoring handled by. The available choices depend on the setup. If Ardour is set to external monitoring, it does not provide input monitoring itself.
Check your interface manual before looking for a direct-monitor control. Some hardware provides that path, but its presence and behavior are device-specific. Write down the route you intend to use. That prevents an experiment on the computer’s buffer from being mistaken for a change to a separate hardware mix.
The monitoring and metering guide helps distinguish live input from saved playback before you judge a timing change.
Save a reference before changing the buffer
Make a copy of a small working session. Keep the same input source, output, and sample rate while comparing settings. Record the current audio configuration and the exact field contents you plan to change. A screenshot or plain note is enough to preserve the reference.
Use a passage you can repeat. Include the processing you need during the recording, since a bare session does not represent a session with that processing added. Note whether the problem is delay while performing, audible interruptions, or a recorded take that appears misaligned. Those observations lead to different checks.
This is a proposed comparison procedure. It is not a benchmark result or a claim that a particular setting will work on your hardware.
Read the active PipeWire values
Open a terminal and run:
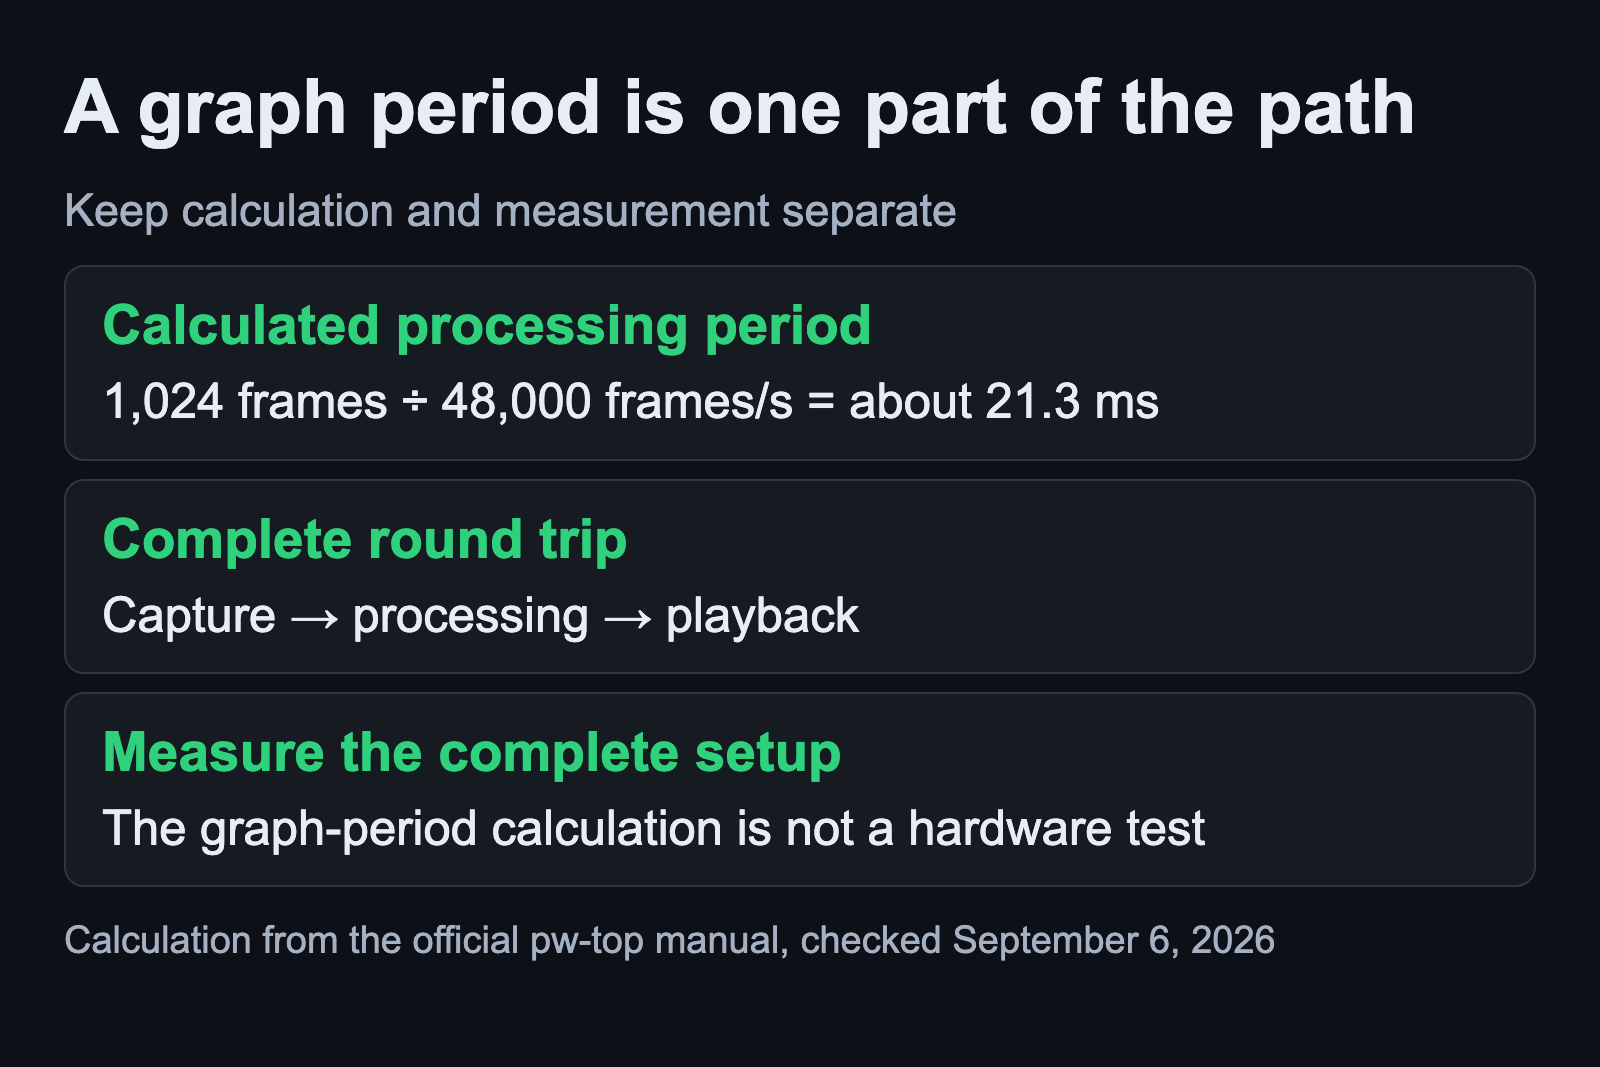
pw-topKeep the audio application active and inspect the relevant running device. For a driver, QUANT is the current quantum and RATE is the graph rate. Divide quantum by rate to obtain the duration of one processing period.
The official manual uses 1,024 frames divided by 48,000 frames per second, about 21.3 milliseconds. This is a calculated graph period. It is not a measurement of the entire input-to-output path.
Watch the ERR count as you repeat the passage. It counts xruns and errors, so record whether it increases during that specific run. An old nonzero count does not tell you when the event occurred. Press q to leave the viewer.
A configured default and the active quantum need not match: PipeWire’s default applies when a client has not specified one. Check the active result after changing a setting rather than assuming the saved field describes the current graph.
Change one setting through the distribution’s utility
Ubuntu Studio supplies Audio Configuration to manage PipeWire quantum. Open its current-audio-configuration section and read the displayed format example before editing the quantum field. Keep your existing sample rate for this comparison. Use a smaller quantum only within the utility’s accepted configuration and your setup’s capabilities.
These changes are system-wide and require administrator authentication. Save your work first. The distribution says a blank quantum field selects the default, but keep the exact previous contents as your rollback reference. Avoid switching the whole machine to the older PulseAudio/JACK arrangement for this experiment.
Run the same passage again. Reopen pw-top and verify the active values. Compare both the monitoring response and new errors. If the change introduces interruptions, restore the previous setting and confirm that the earlier behavior returns.
The useful setting is one that supports your actual session. A smaller number in a dialog is not a successful result when the take contains dropouts.
Check processing that delays the monitored signal
A buffer adjustment cannot account for every source of delay. Ardour developer guidance also points to plugins that introduce latency. Use the saved session copy to compare a simpler processing path with the chain you intend to record through. Keep track of what you changed so the comparison remains understandable.
If you need to hear an effect while performing, include that requirement in your decision. An external monitor path can avoid the computer’s monitoring route where the hardware supports it, but it does not automatically provide the processing inside Ardour.
For mixing or playback, ask whether you need the same responsiveness you need while playing an instrument. Ardour’s manual explains that lower latency tightens processing deadlines and increases the chance of xruns. Preserve a working recording configuration separately from experiments on a heavier session.
Use calibration when you need a measurement
Round-trip latency covers capture, processing, and playback. It includes contributions beyond the graph period. Ardour’s Audio/MIDI Setup documents a guided Calibrate Audio function for measuring hardware latency on available audio ports.
Read that workflow and your interface documentation before attempting calibration. This guide does not supply an unverified cable arrangement or substitute calculated buffer time for a measured result. Save the measurement conditions with any value you record.
Kernel changes also deserve a separate investigation. The JACK project distinguishes realtime scheduling from an RT-patched kernel. Replacing a kernel is not a universal prerequisite for using realtime scheduling, and it is a large first move when the monitoring route is still uncertain.
Keep the result you can reproduce
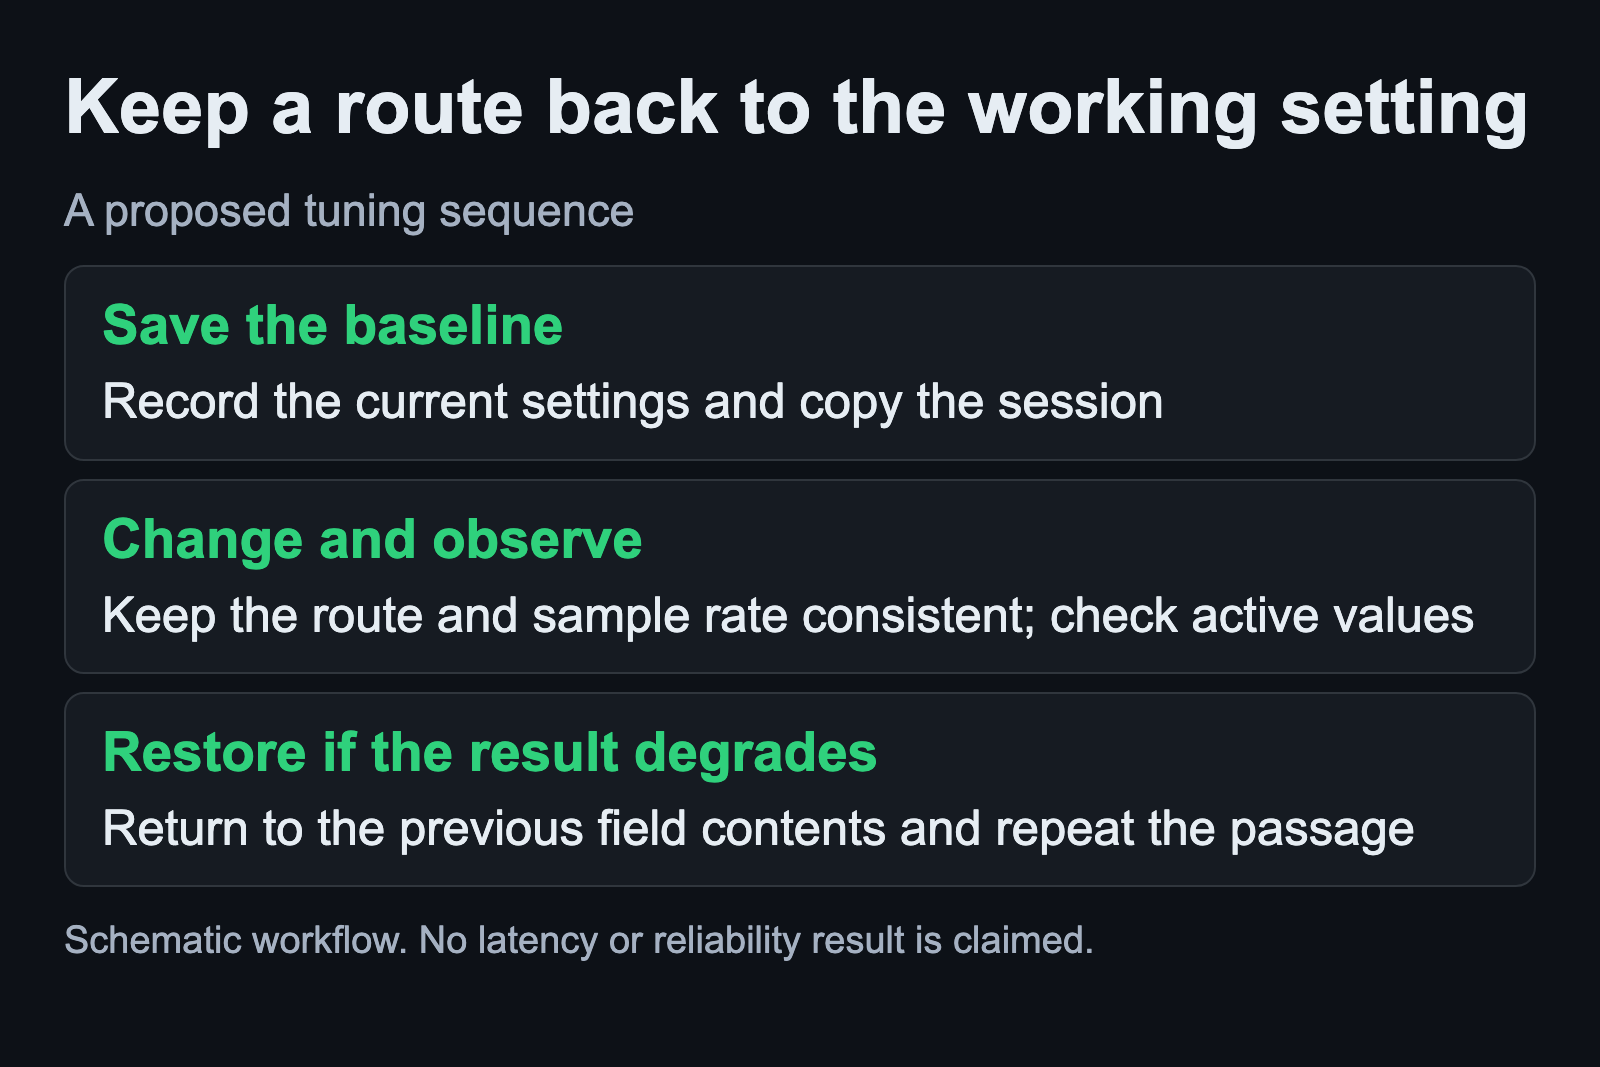
Save the session and your notes when you have a useful setting. Record the distribution release, interface, monitoring route, sample rate, active quantum, and what happened during the test. Preserve the previous field contents beside the new ones.
If the result remains poor, describe the repeatable symptom before making another change. The Linux audio guides separate setup, routing, and troubleshooting tasks so the next investigation can start from that observation.
If the comparison produces dropouts, preserve the take and use the xrun diagnosis procedure. Consult the kernel setup guide before making a separate boot or scheduling change.
Sources
- PipeWire pw-top column definitions
- PipeWire configuration and default quantum
- Ubuntu Studio Audio Configuration
- Ardour monitor signal paths and monitor settings
- Ardour audio setup and calibration
- Latency and compensation concepts
- Ardour developer discussion of buffers and plugin delay
- JACK realtime scheduling FAQ