
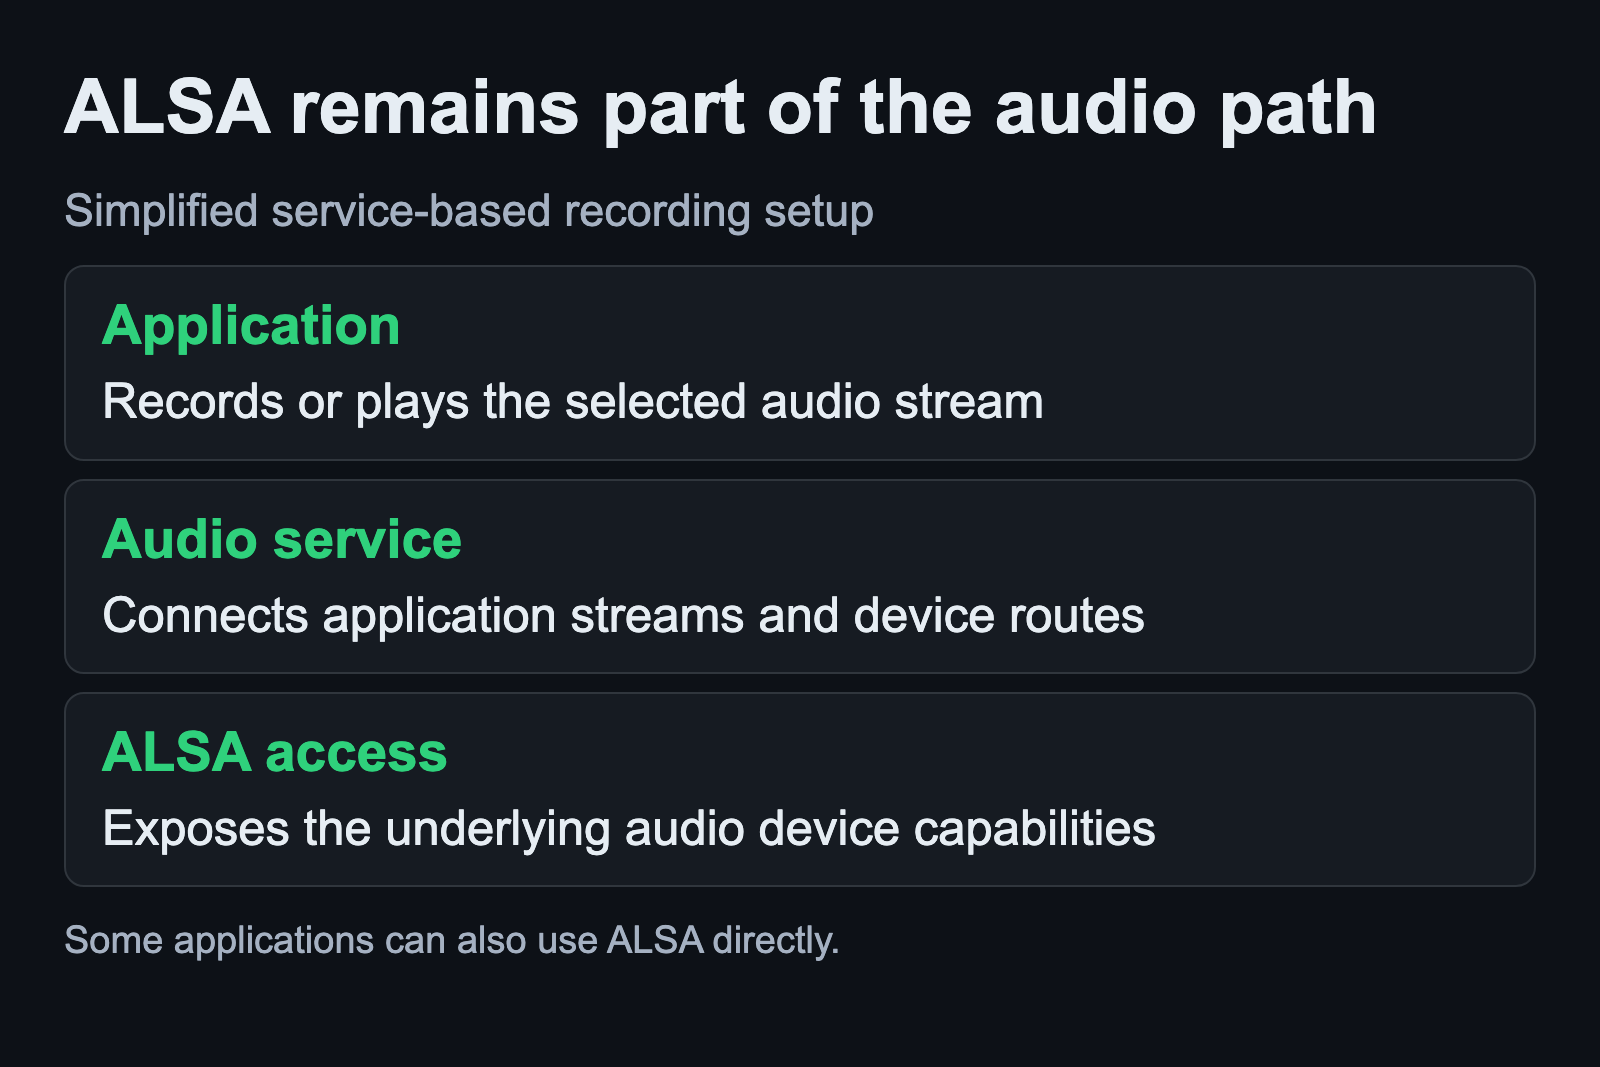
ALSA can appear in your audio settings even when the desktop uses PipeWire. It provides the underlying Linux audio interfaces that software uses to work with sound devices. A desktop audio service and a DAW add their own routing and session behavior around that access. Seeing several names for the same interface does not necessarily mean several competing drivers are installed.
This guide explains the distinction using observation commands documented for Ubuntu 24.04 Noble. It does not replace your current audio service or prescribe a new configuration file. Start by finding which part of the path is missing: hardware detection, a usable audio endpoint, an application connection or a mixer control.
Understand what a PCM device represents
The ALSA PCM reference describes digital audio as samples grouped into frames. A frame represents the channel samples at one point in time. PCM is the interface used for this digital audio stream, including capture from an input and playback to an output.
ALSA uses buffering to move audio between software and hardware. Its documentation distinguishes a playback underrun from a capture overrun. Both are xruns, but they refer to different directions of the stream. These terms describe a failure to keep up with the transfer; they do not identify a particular plugin, cable or kernel as the cause.
For a musician, the immediate value of this vocabulary is reading an error accurately. Copy the actual error into your notes and record whether you were recording or playing. That gives the next check a direction. Replacing the whole audio setup because the message contains the word ALSA can discard useful evidence.
List playback and capture hardware separately
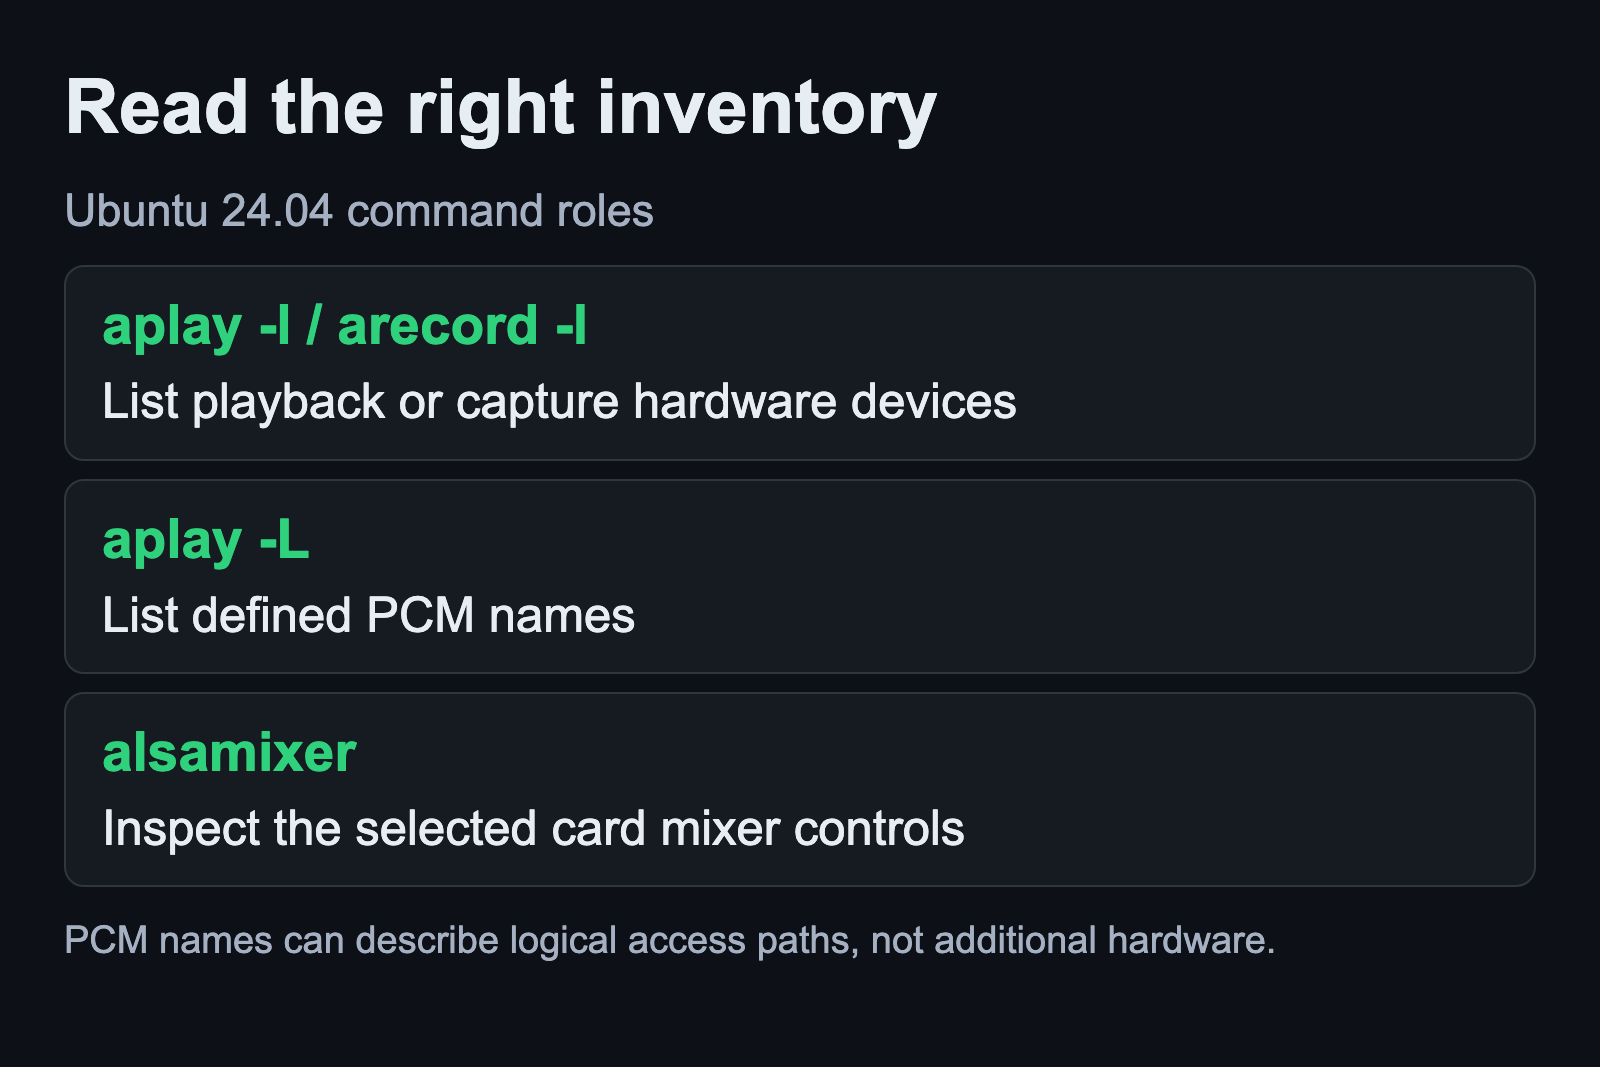
The Ubuntu arecord and aplay manual documents a lowercase listing option for soundcards and digital audio devices. Run these commands to inspect the two directions:
aplay -l
arecord -l
The first inventory concerns playback. The second concerns capture. Compare them with the physical interface you connected and the work you expect it to perform. A device appearing in a playback inventory does not establish that the intended recording input is available or selected in the DAW.
Keep the complete device labels in your notes. Avoid assuming that the first card number always refers to the external interface. The JACK device-naming FAQ explains that discovery order can change and shows how named devices help with ordinary reordering. Multiple identical interfaces need additional care because a shared model name does not distinguish the individual units.
If a USB device is absent or its channels are unclear, use the USB interface guide to separate device detection, support and audio direction.
Compare defined PCM names with physical devices
The uppercase listing option answers a different question:
aplay -LIt lists defined PCM names. Those names are software access choices, so do not count every entry as another physical soundcard. When comparing a DAW’s device menu with command output, identify whether you are looking at a hardware inventory or a list of configured PCM access paths.
The same manual documents selecting a PCM by name, but this guide intentionally gives no command containing a guessed device identifier. Use the names your machine reports and the documentation for the application you are configuring. A copied example can select a different destination from the one you intended.
The WirePlumber ALSA documentation also explains its terminology: a PipeWire device corresponds to an ALSA card, while nodes are close to ALSA’s logical devices. The terms come from different layers. Read them in the context of the tool showing them.
Inspect the mixer card and view before changing a control
Start the mixer documented in the Ubuntu alsamixer manual:
alsamixerConfirm the selected card first. The manual identifies F6 or S as the card-selection control. It distinguishes playback, capture and all-controls views, selected with F3, F4 and F5 respectively. Looking only at playback controls can miss a recording-side setting, so choose the view that matches your symptom.
Read the control labels before touching the keyboard. Arrow keys can change levels, and M toggles mute for the selected control. This makes the mixer an editing tool as well as an inspection tool. Note the existing state and change only a control whose purpose you understand for the selected device.
Do not expect every interface to expose the same mixer controls. If a tutorial shows a control absent from your card, that mismatch needs a device-specific explanation. Raising every visible level or clearing every mute can create an unintended listening route without solving the original recording problem.
Return to the application for the final test
Once the intended hardware appears and the relevant controls make sense, inspect the application’s selected input and output. The signal-flow guide follows the complete route through a track and playback destination. Hardware detection alone does not prove that route exists.
If your application deliberately uses native JACK, the Ubuntu JACK setup guide separates the controller, backend and device selection. Preserve the current server choice while checking those settings. Changing implementations during the same test makes the result harder to interpret.
Record a short passage, stop and listen to the saved result. Keep the successful device labels and relevant mixer settings with the session. These are proposed checks, not a report of hardware testing for this article. Their purpose is to narrow the problem enough that your next change addresses an observed failure.
Sources and scope
ALSA’s primary library reference establishes the stream terminology. Ubuntu Noble manuals establish the commands and keys. JACK and WirePlumber documentation explain naming and layer distinctions. Sources checked September 6, 2026.