
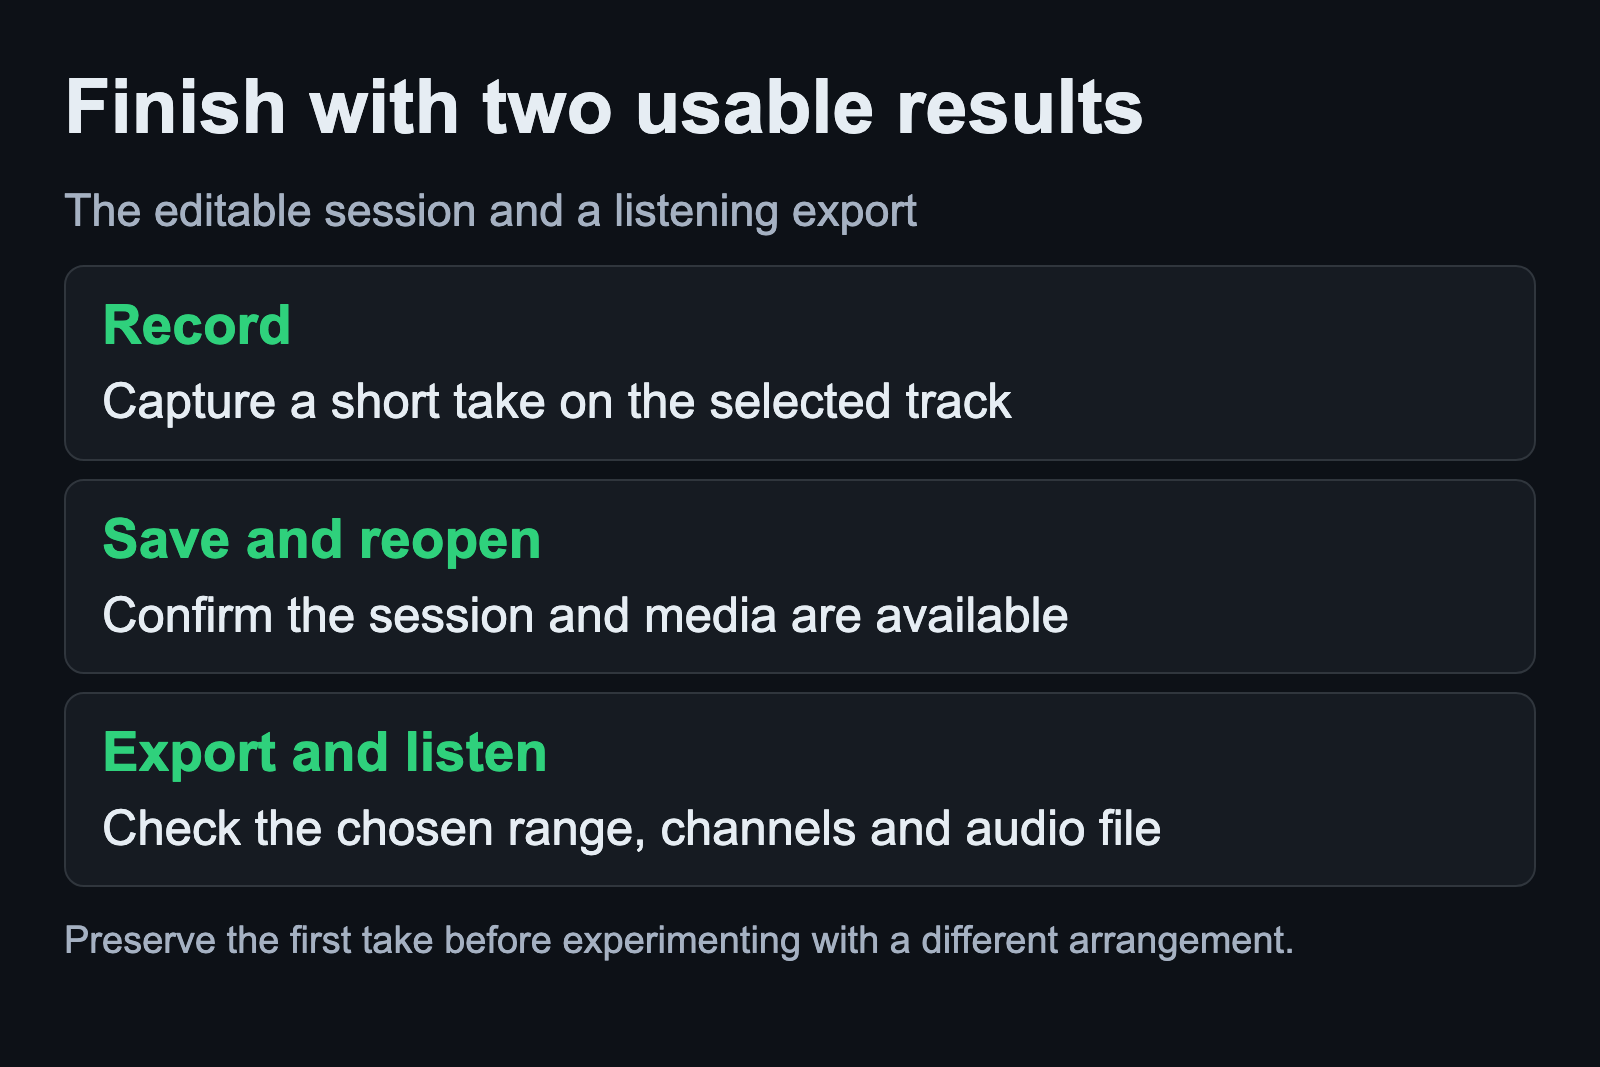
Make your first Ardour session small enough to finish. Record one clear source, save it, reopen it and export a file you can listen to outside the project. That gives you an editable session and a checked listening copy before you start building a larger arrangement.
This exercise assumes a native Linux Ardour installation with a working audio interface on Ubuntu Studio 24.04. It follows the current official Ardour manual rather than a fixed screenshot layout. If input and playback have not worked yet, complete the basic Linux recording setup first.
Name the session and choose its folder
In Ardour’s initial dialog, create a new session with a name you will recognize later. Choose its storage folder deliberately. The New/Open Session documentation explains the name, folder and template choices.
For a simple starting point, the documented Empty Template creates a stereo master bus without adding recording tracks. A larger template can create useful routing, but it also gives you more to inspect before you understand the project. Begin with the small configuration for this exercise.
In Audio/MIDI Setup, select the audio system and interface that already worked in your reference test. Confirm the input and output devices, supported sample rate and buffer setting. Avoid changing the operating system’s audio implementation at the same time as learning the session controls.
Add one named audio track
The track-creation documentation gives the menu Track > Add Track, Bus or VCA. Select an audio track, give it a useful name and choose a channel configuration that matches the source. For a single input, begin with a mono track; use stereo when you intend to capture a stereo source.
Inspect the track’s input selection instead of relying on the track name. Confirm that it refers to the connector carrying your source. Follow the output through the master and into the intended listening destination. The signal-flow guide explains the route when a meter moves but no sound reaches the speakers or headphones.
Use a name that describes the source, such as the instrument or microphone position. This is a proposed organizational habit, not a required Ardour naming convention. A recognizable track label makes the saved project easier to inspect when you return to it.
For a controller-driven instrument instead of microphone capture, use the MIDI setup guide to verify events and the instrument output.
Record a short take and listen from disk
Arm the intended track, engage transport recording and capture a brief passage. The Recorder documentation describes track arming, input selection and monitoring choices. Stop after enough material exists to check the beginning, sustained sound and ending.
Now listen to the recorded playlist material. The documented Disk monitoring choice is useful for distinguishing recorded playback from the live input. Confirm that the result contains the source you intended and that it plays through the correct output.
Preserve this first successful take. The Recorder’s Discard Last Take control deletes recorded files, so it is not part of this exercise. Leave experiments with destructive cleanup until you understand exactly which files a command affects.
Save a reference before changing the arrangement
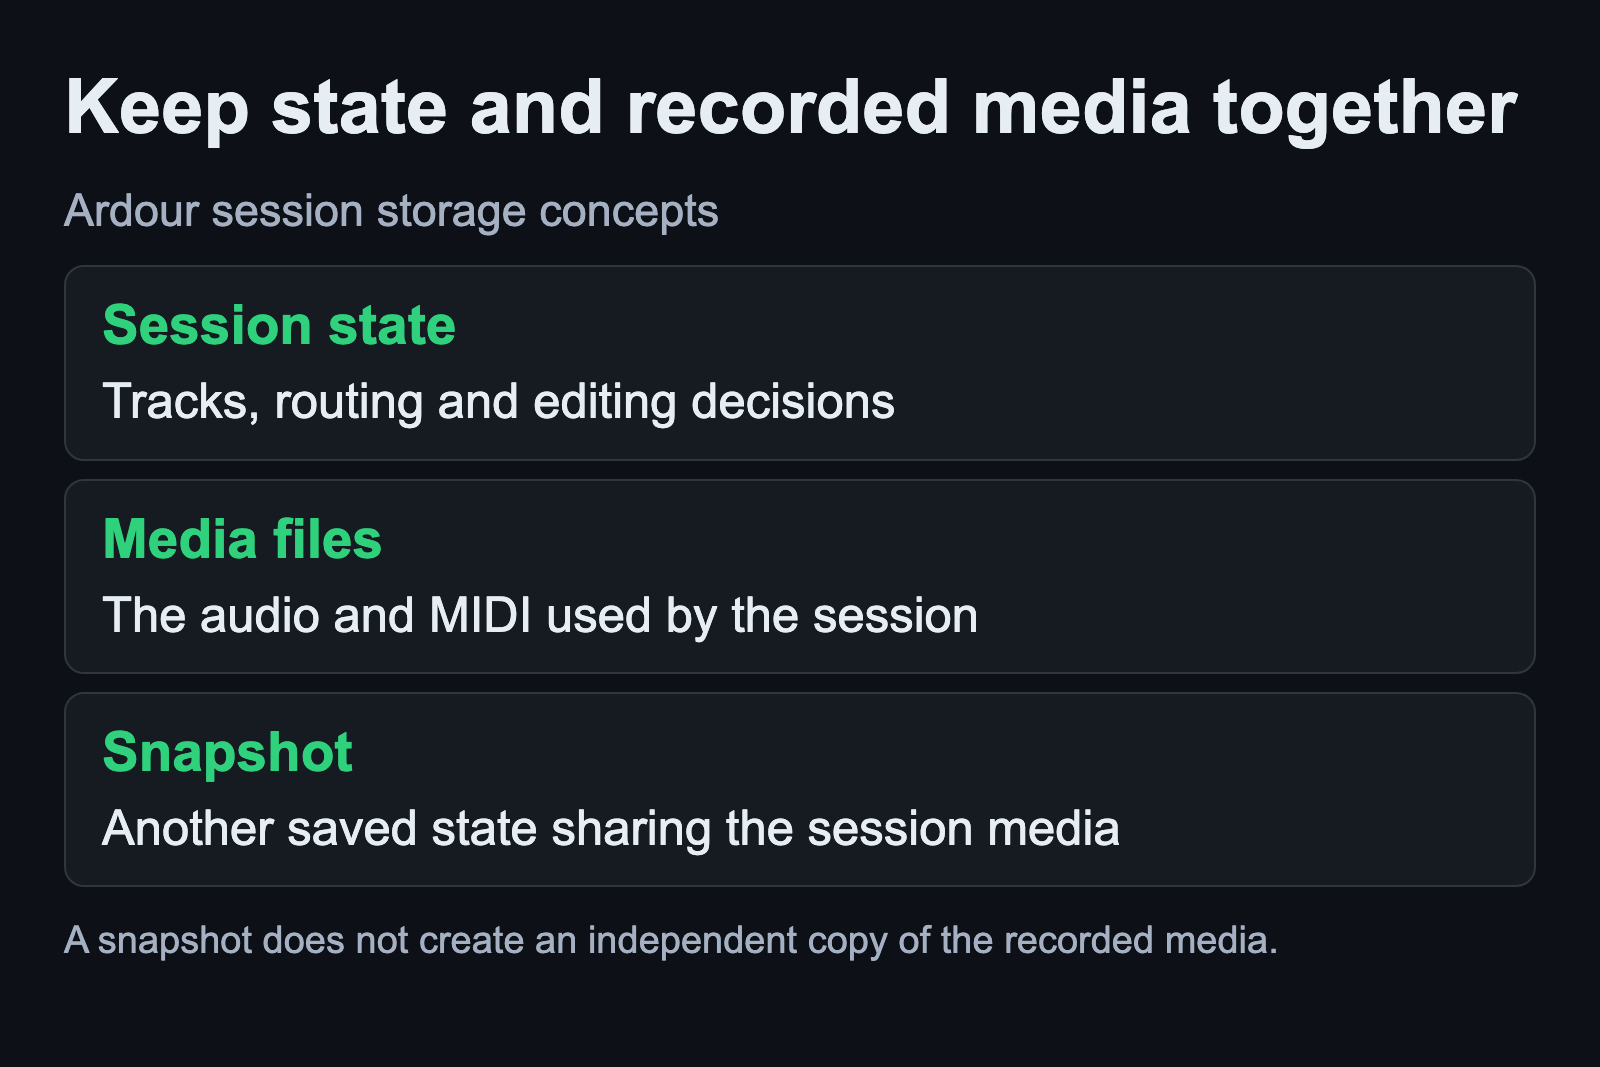
Save the session and use the documented Session > Snapshot options when you want another state to return to. The snapshot manual distinguishes keeping the current version active from switching to the new snapshot. Read that choice before saving further changes.
A snapshot preserves another set of session decisions while sharing the session’s media. It does not make an independent second copy of the recorded audio. Use it to compare an editing or mixing approach, then use a proper media backup to protect the files themselves.
For this first project, a useful next experiment is to make one arrangement change in the alternate state and compare playback. Keep the first successful state recognizable. Avoid adding several plugins and reorganizing every track before proving you can return to the reference.
Export a clearly named listening file
Open Session > Export > Export to Audio file(s), as documented in the export dialog manual. Choose the destination folder and a filename that identifies this test. Check for any warning about overwriting an existing file.
Review the time span and channels. The time span determines the part of the timeline exported, and the channels choice determines which outputs feed the file. The documented default uses the master bus. Confirm both selections rather than assuming the visible waveform alone defines the export.
Enable the available export analysis if you want to inspect the resulting format, channel count, rate and duration. Listen to the file and check that it includes the intended start and ending. An export operation completing successfully does not establish that you selected the right range or source.
Reopen the session and preserve its media
Close and reopen the saved session, then play the take again. Confirm that Ardour locates the media and that the output selection still makes sense. Keep the checked export nearby, but remember that it does not replace the editable session.
The backup documentation explains that a session can reference imported files outside its folder. A simple folder copy needs those files as well. Before relying on a backup, check whether the project is self-contained or includes external references.
Sources and scope
The official Ardour manual establishes the controls and file behavior described here. The exercise is a proposed first-session workflow; no Ardour recording or hardware benchmark was performed for this article. Documentation checked September 6, 2026.