
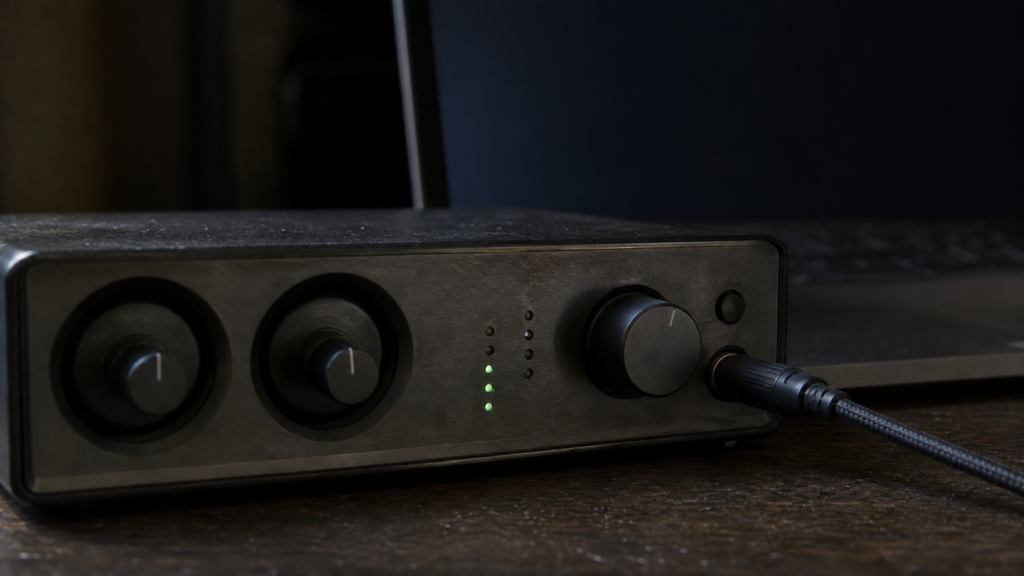
Before changing a gain control, identify which signal you are hearing. It could be the interface’s direct input feed, an input routed through Ardour, or material already recorded on a track. A moving meter tells you that a signal exists at a particular point; it does not identify your whole listening path.
This guide uses Ardour on Ubuntu Studio 24.04 as the reference environment. It explains monitoring choices and a short verification procedure. It does not prescribe a universal recording level or claim measured latency for an unspecified interface.
Choose the monitoring route deliberately
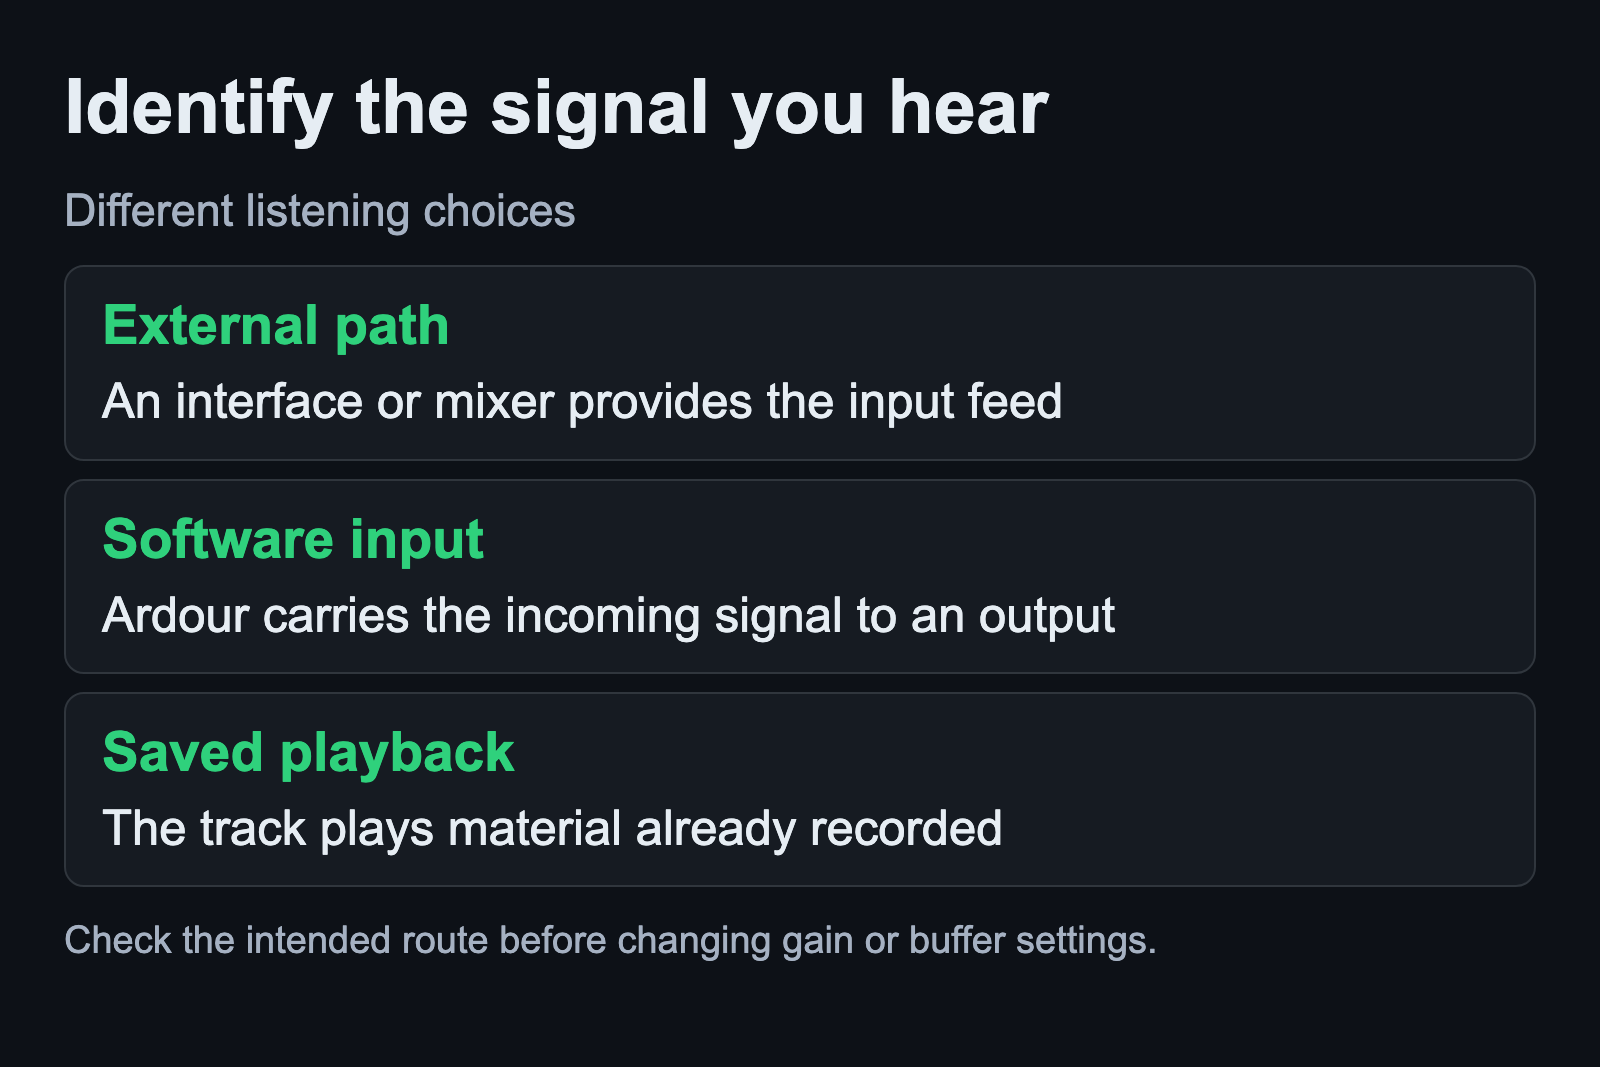
The Ardour monitoring reference separates external monitoring from software monitoring. An external mixer or an interface’s input-listen feature can supply the first route. With software monitoring, Ardour carries the input through the application to an output.
Hardware monitoring features and their control depend on the device. Check the interface manual for the actual switches, mixer or control software involved. Do not assume that a control shown for another interface exists on yours or that its state is stored with the Ardour session.
Software monitoring gives you a route through the DAW, with delay affected by the processing setup. If this is the route you need, establish the connection before adjusting buffers. The Linux signal-flow guide helps identify the source, processing stage and output.
Separate live input from saved playback
Ardour’s Recorder documentation explains All In and All Disk as global monitoring choices. The former selects track inputs; the latter plays material from the saved playlists. Individual tracks also have In and Disk controls.
Auto Input changes the listening choice with playback and recording state. Before judging a take, check the state of the track and transport. Hearing the live input after stopping does not establish that the intended passage was recorded successfully.
For a simple check, record a short passage and then deliberately verify saved playback. Keep the original take while investigating a problem. Repeating the performance without knowing whether the issue is monitoring or capture can leave you with several files and the same unanswered question.
Read the meter’s type and position
The metering manual distinguishes digital peak meters from averaging meters such as RMS. They answer different questions about a signal. A brief peak and an average level should not be treated as interchangeable observations.
Ardour also lets you choose the metering point, meaning the place in the signal chain where the signal is measured. Check that position when comparing a meter with a fader or processor change. A meter earlier in the path cannot establish the level at every later output.
The manual describes red highlighting when the configured peak threshold is exceeded. Read the meter settings and signal context before calling every red indication the same failure. Keep the observation specific: which track, which meter position and what happened during the passage.
If two meters disagree, write down their types and positions before attempting to make the displays match. The goal is to understand the signal at the relevant stage. Matching the appearance of different meters is not a recording test.
Keep input capture and listening level separate
Use a comfortable listening level while testing. Identify which physical control changes the input and which changes the headphone or speaker feed from the interface’s own documentation. Label the controls in your session notes if their roles are easy to confuse.
Record the same short passage after one deliberate change, then compare the saved audio. Avoid changing the interface input, software track level and listening output together. If the result changes, you want to know which action produced it.
The first Ardour session guide covers the surrounding capture and playback workflow. Use a copied test session when investigating a working project’s monitoring behavior, so the original routing remains available for comparison.
Inspect the audio you actually export
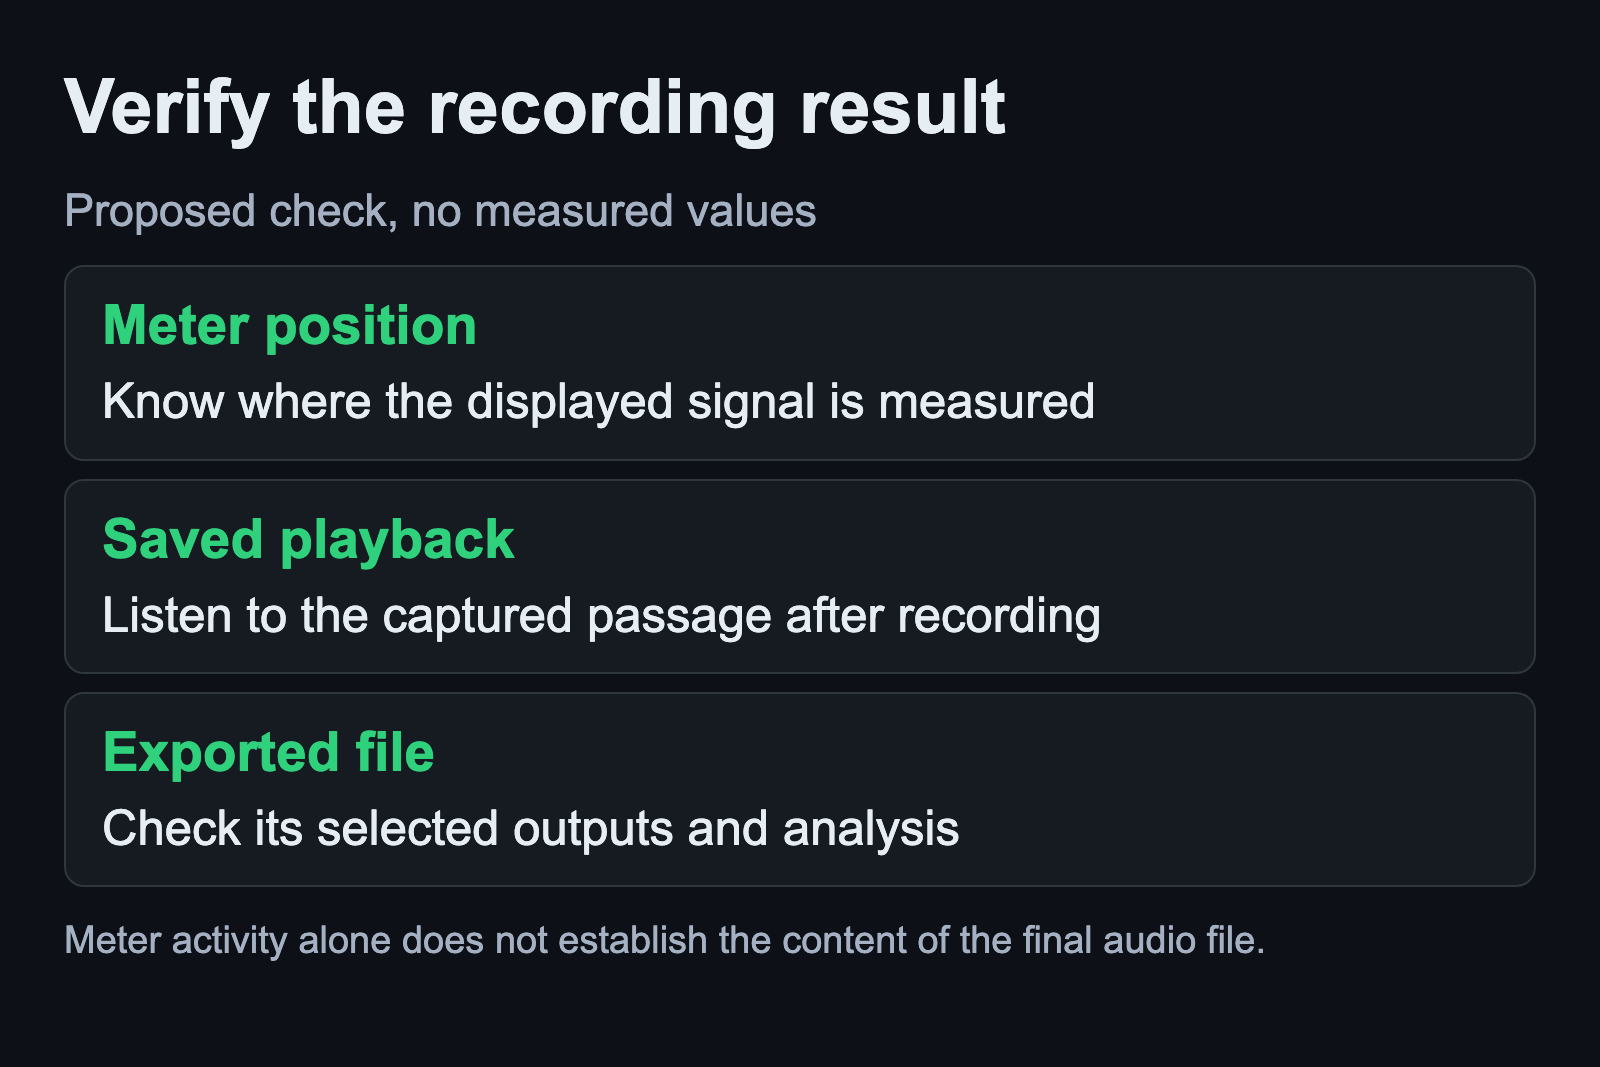
The Export Dialog reference separates the selected output channels from other export choices. Its Channels tab determines which track or bus outputs go into the file, with the Master Bus as the default selection. Check this before assuming the exported result must match an arbitrary monitoring feed.
Analyze Exported Audio opens a report with file details and measurements including peak, true peak and integrated loudness. Use the report to inspect the actual export, then listen to the file. A meter seen during a live performance is a different piece of evidence from analysis of the delivered audio.
Check the intended time range and channel selection, and keep a distinct filename for a comparison export. If a delivery requires a particular loudness standard, consult that requirement directly. This guide does not turn one suggested meter reading into a universal mastering target.
Do not confuse processing errors with audio level
The PipeWire process viewer reports xruns and errors in its ERR column. That counter concerns processing behavior, not the amplitude shown by an audio level meter. A quiet passage can still need investigation if processing errors occur.
For that problem, use the xrun diagnosis guide and preserve the recording as evidence. Keep the listening route, meter observation and processing counter in separate notes. Each can help, but each answers a different question.
Sources and scope
Monitoring, meter and export definitions come from Ardour’s official manual. The process-counter distinction comes from Ubuntu’s PipeWire manual. The comparison procedure is proposed; no interface, recording level or exported file was measured for this article. Sources checked September 6, 2026.